Custom Apparel Guide: Styles, Materials, and Fit Tips
Cassandras ShopUpdated on: 2026-04-27
Custom apparel helps brands and groups turn ideas into wearable identity. A clear plan improves design quality, material choice, and delivery consistency. This guide shows how to plan, specify, produce, and review each stage of the process. You will also learn how to reduce rework and protect margins.
TLDR | Table of Contents | Introduction | Essential Tips | Detailed Step-by-Step Process | Summary & Takeaway | Q&A Section
TLDR
Custom apparel succeeds when specifications are clear and production steps are controlled. Start with a strong design brief, then validate materials, fit, and print methods. Use a review process to catch issues early and protect your brand consistency.
Custom apparel is one of the fastest ways to build community, strengthen brand recognition, and create memorable events. When the workflow is organized, you reduce errors, improve repeatability, and deliver garments that match expectations. This article provides an actionable framework for planning and producing custom apparel, with practical checks for design, sizing, printing, and quality assurance.
Essential Tips
- Write a design brief before you select methods, colors, or garments. Include audience, purpose, and brand standards.
- Choose a production method that fits your artwork. Vector-ready art usually supports clean edges and consistent prints.
- Confirm fabric composition and garment style early. Sleeve length, neckline shape, and weight affect perceived quality.
- Define a sizing strategy for every order tier. Use a size chart that matches the exact garment model.
- Plan for proofing. Require a mockup and a sample review for critical products.
- Standardize color management. Use clear references for pantone-like color targets, hex values for digital designs, and approved swatches when possible.
- Document placement rules for each print location. Avoid ambiguous “centered” instructions without a measurement reference.
- Set a packaging and labeling expectation. Include care instructions and any group-specific identifiers.
Detailed Step-by-Step Process
Use the following sequence to manage custom apparel projects from concept to delivery. Each step includes a short explanation and a quality checkpoint.
1) Define the goal and scope
Start by clarifying the use case: team uniforms, merchandise, corporate events, or retail collections. Define whether items are one-time event pieces or ongoing brand SKUs. Then decide scope: number of units, timeline targets, and whether you need multiple colorways or sizes.
2) Build the design brief and prepare artwork
Create a brief that includes typography rules, logo usage, background behavior, and placement. For artwork, confirm file formats and resolution. Vector artwork often supports crisp edges, while high-resolution raster images can work when size and placement are controlled.
Ensure that design elements are suitable for production. Thin strokes and fine gradients can break up depending on the printing method. If your artwork includes multiple layers, define which layers are printable and which are purely visual.
Design checklist with measured placement and color targets
3) Select garments, fabric, and print method
Match garment attributes to the production plan. A heavier fabric can hold structure well and may feel more premium. A lighter fabric may improve comfort and mobility. For print method selection, consider how the design behaves:
- For bold graphics and logo-heavy layouts, a method with strong opacity supports consistent visibility.
- For detailed artwork, choose a method that can reproduce small shapes and smooth transitions.
- For long-term brand wear, prioritize methods that tolerate regular laundering and daily use.
Specify garment identifiers such as model name, cut, sleeve type, collar style, and size range. If you sell across regions, ensure that sizing labels align with local expectations.
4) Set sizing, fit guidance, and measurement tolerances
Sizing is a major driver of satisfaction. Provide a size chart that includes chest width, garment length, and sleeve length as applicable. If you have prior product history, use it to detect recurring fit issues. For groups with varied body types, consider a broader size range and clear fit descriptions such as “classic” or “relaxed.”
Quality control should also define measurement tolerances. Without tolerances, it becomes difficult to judge whether a sample meets expectations.
5) Conduct proofs and sample reviews
Proofs prevent costly rework. Start with a digital mockup to verify placement and scale. Then request a physical sample for first production, especially for high-visibility orders.
During the sample review, evaluate the following points:
- Print placement accuracy based on your measurements.
- Color alignment compared with your approved references.
- Edge sharpness and legibility of text.
- Wash and durability expectations based on method guidance.
- Overall garment finishing, including stitching consistency and collar integrity.
Record feedback with clear acceptance criteria. Use a versioned approval process so each revision is traceable.
6) Plan production and workflow handoffs
Production succeeds when handoffs are disciplined. Provide the final approved files, placement maps, and color references. If your order includes multiple designs or seasonal variants, label each set clearly to avoid mixing.
Ask the production team for a workflow outline that includes print setup, curing or heat processes if applicable, and inspection stages. Even when you trust the vendor, a clear outline helps you coordinate internal approvals and customer expectations.
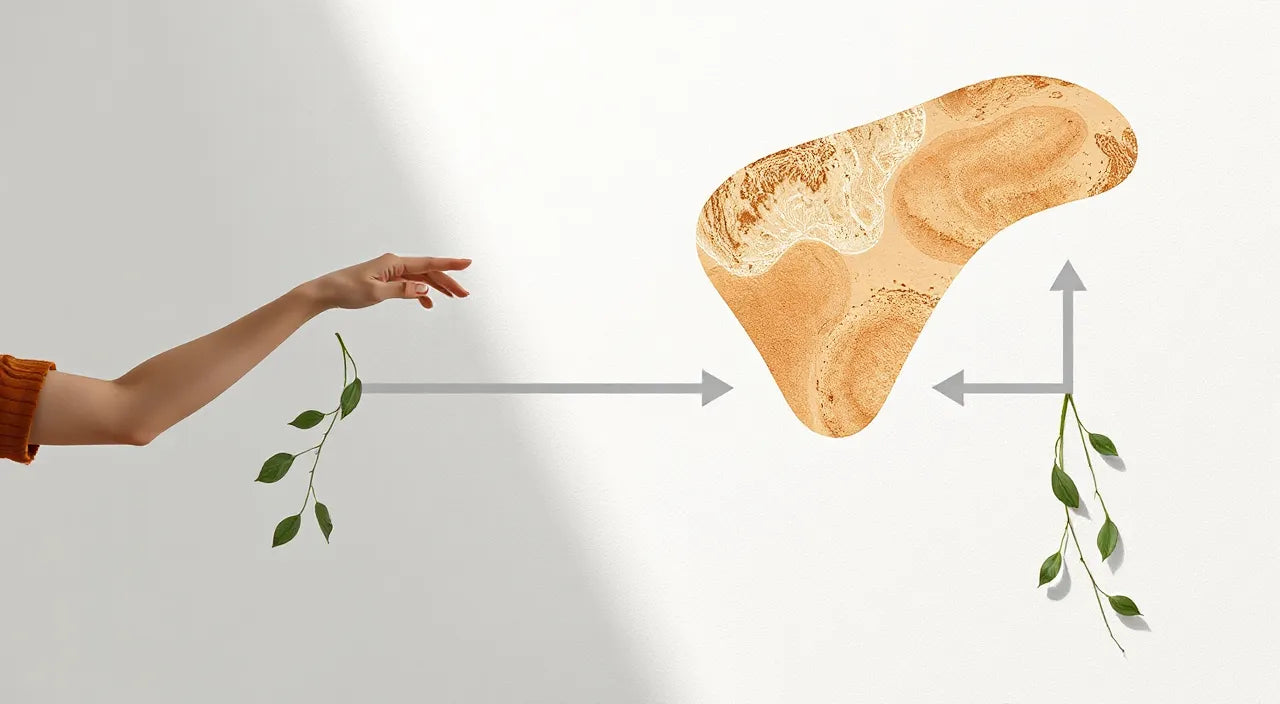
Production flow diagram showing proof, print, and inspection stages
7) Perform quality assurance checks
Quality assurance should include both visual and measurement checks. Visual checks confirm that the design is centered, fully applied, and free of unintended artifacts. Measurement checks confirm that the garment meets your size chart.
Consider a sampling plan based on order size. For small runs, inspect a larger share because one defect has higher impact. For larger runs, set a realistic sampling rate while still catching systematic issues.
Also verify packaging. If your product needs gift-ready presentation, confirm that labels, stickers, and care cards are correct and consistent.
8) Fulfillment, care instructions, and customer experience
Define fulfillment standards before production finishes. Confirm shipping timelines with enough buffer for processing and carrier delays. Provide care instructions that match the production method and fabric characteristics.
For customer experience, consider how you handle sizing questions. A simple support page with the size chart and guidance reduces returns. When possible, include a quick reference sheet inside the packaging that directs customers to care steps and sizing details.
9) Measure results and improve future drops
After delivery, collect feedback. Identify whether issues come from artwork scaling, fabric selection, or sizing guidance. If returns occur, review the top reasons and categorize them. Then update your design brief template, proof checklist, and sizing documentation.
Over time, this creates a predictable process that improves margin control and reduces customer friction.
Summary & Takeaway
Custom apparel delivers strong brand value when you manage design clarity, material choices, and production quality. Start with a complete design brief, select garments and print methods that fit the artwork, and validate outcomes through proofs and sample reviews. Then support delivery with a clear QA plan, correct labeling, and effective care instructions. If you treat each project as a repeatable system, you reduce rework and improve customer trust.
If you want to explore related merchandise examples and product styles from Cassandras Shop, you can review these pages: koi fish ceramic night light, blue jay ceramic night light, barn owl ceramic night light, and sting ray ceramic night light.
Q&A Section
How do I choose the right print method for my artwork?
Choose the print method by matching the artwork complexity to the method capability. For logo-driven designs with solid shapes, a method that produces strong opacity and crisp edges often performs well. For detailed illustrations and small text, prioritize methods that preserve fine details. Request a sample proof for critical campaigns and compare legibility, color match, and edge quality under normal lighting.
What is the best way to reduce sizing issues?
The best approach is to use a garment-specific size chart and clear fit guidance. Confirm that measurements align with the exact garment model you are producing. Include both garment measurements and plain-language fit notes. During sample review, check at least one size that reflects your customer baseline, since fit can vary across styles and fabric weights.
How many proofs should I request before production?
For most projects, a digital mockup plus one physical sample approval is a reliable baseline. Request additional revisions only when you identify placement or color mismatches, or when your design uses complex elements such as fine typography or multi-layer artwork. A versioned approval log helps prevent accidental acceptance of outdated files.
How should I handle customer questions after delivery?
Provide a clear support process that references the size chart, care instructions, and fit guidance. If customers report issues, categorize them by cause such as sizing, print appearance, or fabric behavior. Use that feedback to update your design brief and QA checklist for future custom apparel runs, which reduces repeat problems.
About the Author
Cassandras Shop is an established e-commerce brand with expertise in product presentation, customer-focused merchandising, and practical workflow planning. The author specializes in translating creative concepts into consistent production specifications and clear customer communication. A thoughtful process and disciplined quality checks are at the center of every recommendation. Thank you for reading and using this guide to build dependable custom apparel outcomes.
The content in this blog post is intended for general information purposes only. It should not be considered as professional, medical, or legal advice. For specific guidance related to your situation, please consult a qualified professional. The store does not assume responsibility for any decisions made based on this information.